Difference between revisions of "Water"
(Missing Pictures. I'll probably change the Data Editor method into the Water Module method later on.) |
|||
| (One intermediate revision by the same user not shown) | |||
| Line 1: | Line 1: | ||
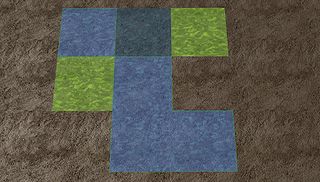
| + | [[File:Water Highlights.jpg|320px|thumb|The Editor highlights the surrounding of the selected Water Type in the Water Panel.]] | ||
This tutorial will explain how water works in [[GalaxyEdit]]. | This tutorial will explain how water works in [[GalaxyEdit]]. | ||
| + | |||
==How To Add Water== | ==How To Add Water== | ||
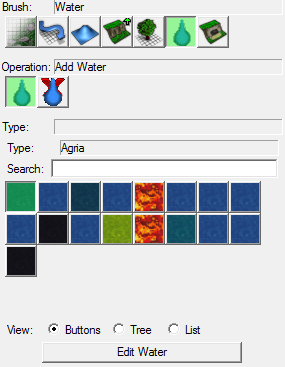
| + | In the Terrain Editor, you can press the ''droplet'' icon to access the "'''Water Panel'''". From there, you have the option to '''Add Water''' or '''Remove Water'''. On the following picture, you see the '''Add Water''' button pressed and the options is gives you. | ||
| − | + | [[File:Water Panel.png]] | |
| − | |||
| − | |||
| − | |||
| − | |||
| − | |||
| − | [[ | ||
| − | |||
| − | |||
| − | : | ||
| − | |||
| − | |||
| − | |||
| − | |||
| − | |||
| − | |||
| − | |||
| − | |||
| − | |||
| − | |||
| − | |||
| − | |||
| − | |||
| − | |||
| − | |||
| − | |||
| − | |||
| − | |||
| − | |||
| − | |||
| − | |||
| − | |||
| − | [[ | + | Those option-buttons represent every different '''[[Water Types|Water Type]]''' you can place. Once you've selected one of them, you can place it in your map. |
| − | + | Note that you can unfortunately only place '''8x8 blocks''', and unless you modify the default Height value a Water Type, you'll place it at a Height of '''9.0'''. | |
| − | |||
| − | + | In order to shape you newly placed water block, you'll have to use the '''Raise''' option of the '''Height''' Terrain Brush to draw some elevation surrounding it. | |
| − | + | ==How To Remove Water== | |
| + | If you take a look back at the Water Panel's image, you'll see the '''Remove Water''' button just to the right of the '''Add Water''' one. Once it is selected, you can just left-click anywhere on a block of water to remove it. | ||
| − | [[ | + | ==Custom Water== |
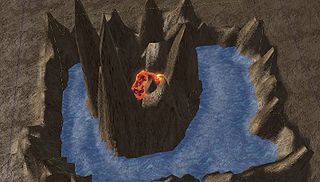
| + | [[File:Lava Cratter.jpg|320px|thumb|Just a quick example-draw that shows how you can use the Height property.]] | ||
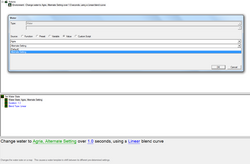
| + | [[File:Water State Trigger.png|250px|thumb|Water State's trigger action]] | ||
| + | In the Water Panel, you can select any Water Type and press the "'''Edit Water'''" button to customize its properties. | ||
| + | [[File:Water Properties.png]] | ||
| − | + | As you can see, you can either decide to edit the Default water, or create an '''Alternate Setting'''. Creating a Water State requires you to use the '''Set Water State''' [[trigger]] action to apply it in-game. | |
| − | |||
| Line 55: | Line 30: | ||
*[[Changing Water Height In Game]] | *[[Changing Water Height In Game]] | ||
*[[Detecting if a unit is in water]] | *[[Detecting if a unit is in water]] | ||
| + | |||
| + | [[Category:StarCraft II]] | ||
| + | [[Category:Terrain]] | ||
| + | [[Category:Reference]] | ||
Latest revision as of 05:25, 26 November 2010
This tutorial will explain how water works in GalaxyEdit.
How To Add Water
In the Terrain Editor, you can press the droplet icon to access the "Water Panel". From there, you have the option to Add Water or Remove Water. On the following picture, you see the Add Water button pressed and the options is gives you.
Those option-buttons represent every different Water Type you can place. Once you've selected one of them, you can place it in your map.
Note that you can unfortunately only place 8x8 blocks, and unless you modify the default Height value a Water Type, you'll place it at a Height of 9.0.
In order to shape you newly placed water block, you'll have to use the Raise option of the Height Terrain Brush to draw some elevation surrounding it.
How To Remove Water
If you take a look back at the Water Panel's image, you'll see the Remove Water button just to the right of the Add Water one. Once it is selected, you can just left-click anywhere on a block of water to remove it.
Custom Water
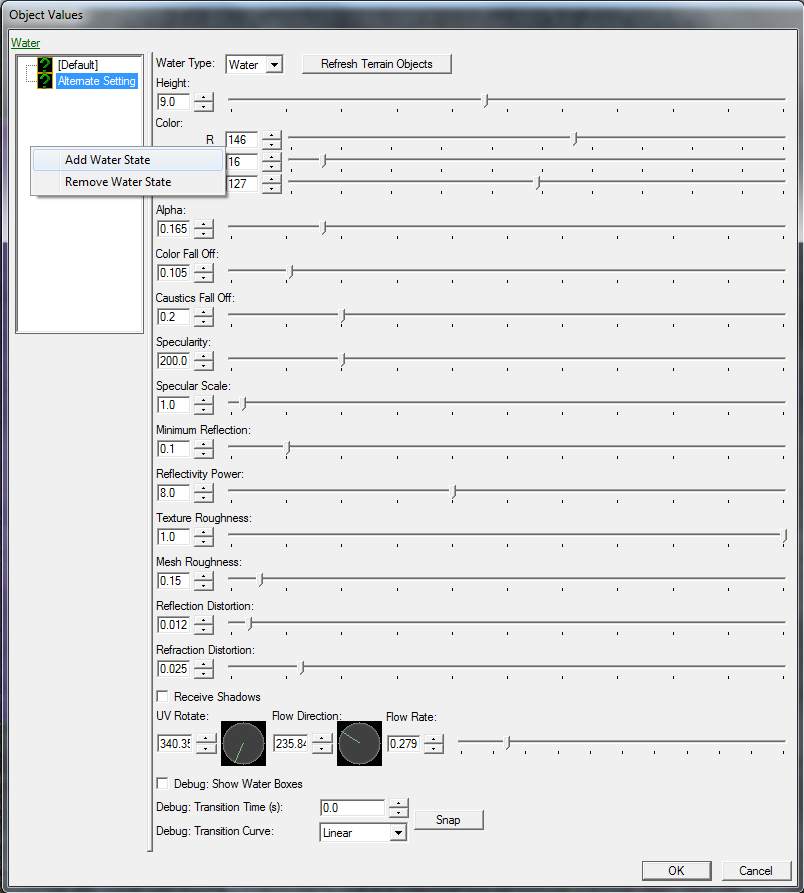
In the Water Panel, you can select any Water Type and press the "Edit Water" button to customize its properties.
As you can see, you can either decide to edit the Default water, or create an Alternate Setting. Creating a Water State requires you to use the Set Water State trigger action to apply it in-game.
