Custom Terrain Textures
In this tutorial, we'll be creating a custom terrain texture using existing online images. However, you can create your own, using your chosen photo editing application, or photographs you take yourself. While the program used is GIMP, you can also use other applications such as Photoshop.
Finding a Base Image
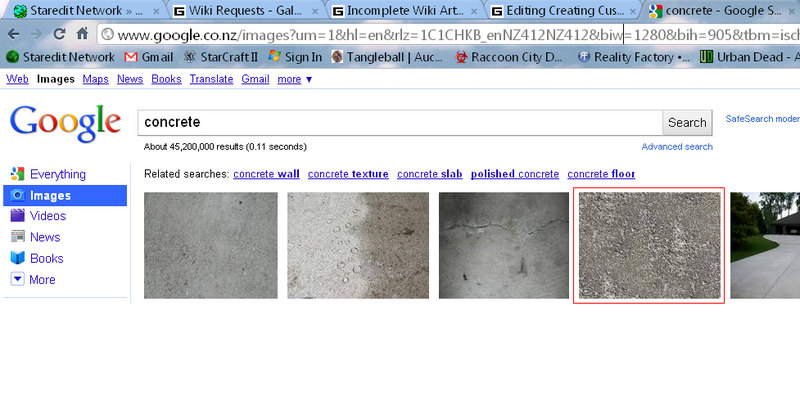
The easiest way to find a good stock photo to convert into a terrain texture is via google. In this case, while we're going to be making a rocky snow texture, I search for concrete in google image search. I then save the highlighted image onto my computer.
Editing the Image
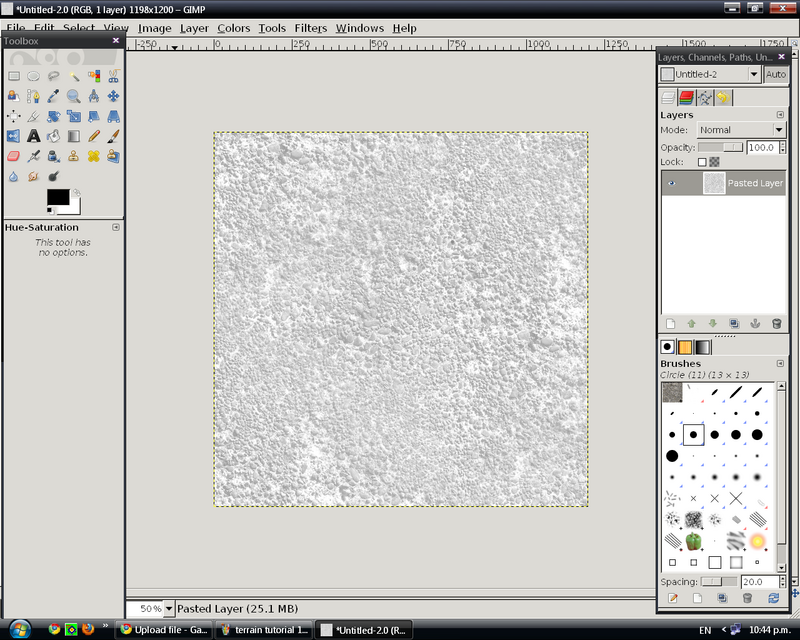
Next, open up the image in your photo editing application. Crop the image until it is square. Then increase the brightness and contrast until it looks a lot whiter, and less colorful. I managed to get mine looking like this:
Making the Texture Tile Correctly
There's a problem with the image as it currently is. If you have several of these placed next to each other, you may notice something. There's a large white patch that stands out quite a lot. If you have this plastered all over a StarCraft II map, these white patches will be quite obvious. To fix that, we're going to be using the Clone tool.
Cloning
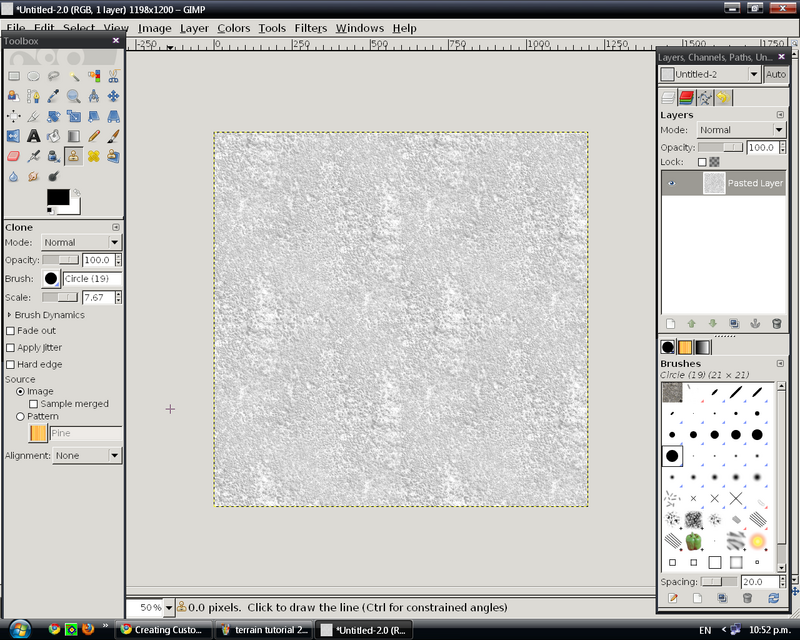
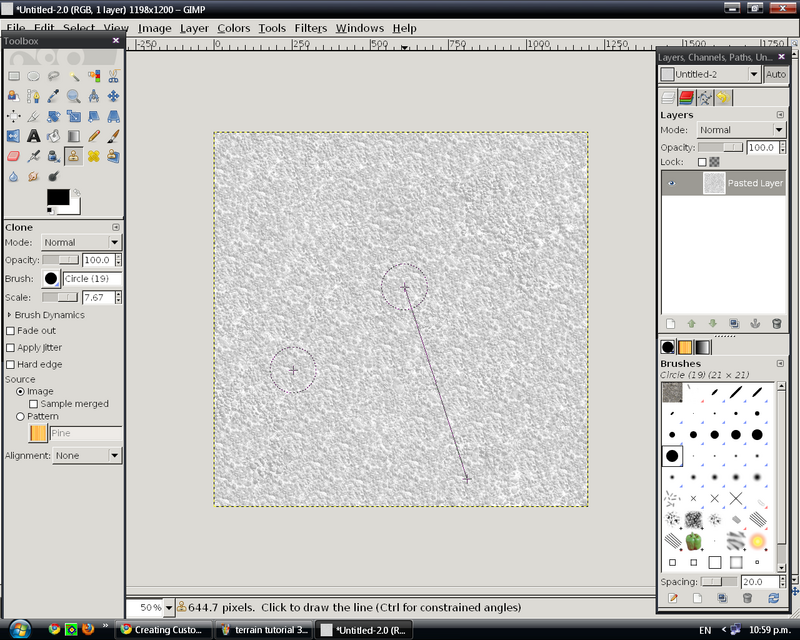
Cloning is fairly simple. You select a part of the image to clone from, then you click all over the large white patches, replacing wherever you click with the part of the image you previously selected. In GIMP, you hold down Ctrl and click on an area that looks quite bland and not too bright. Then, without holding down Ctrl, click on the large white patches. Once I finished, when tiled my image had no patches that stood out noticeably. For this kind of texture, that's the effect you want. (Note: other terrain textures may look better with large patches. Don't always clone out the patches unless the texture needs it.)
Make it Tile
This texture doesn't really need this, as it already tiles quite well. However, for textures such as wooden planks, bricks, and other textures which require parts that stand out, you'll need to run a Make Tileable filter on the image, or manually tile them yourself. There are tutorials on the internet about this, I won't go into more detail.
Alpha Mapping
StarCraft II uses the alpha map of the diffuse (color) map, aka your texture, to define how the texture is affected by global illumination. If you have a bright alpha map, the texture will appear to be bright when hit by ingame lighting; dark alpha maps means the texture will appear dark. The texture will look the same regardless of alpha mapping when it is under a shadow. You can make half an alpha map bright and half dark, or make cracks in the texture dark and the rest bright.
Normal Mapping
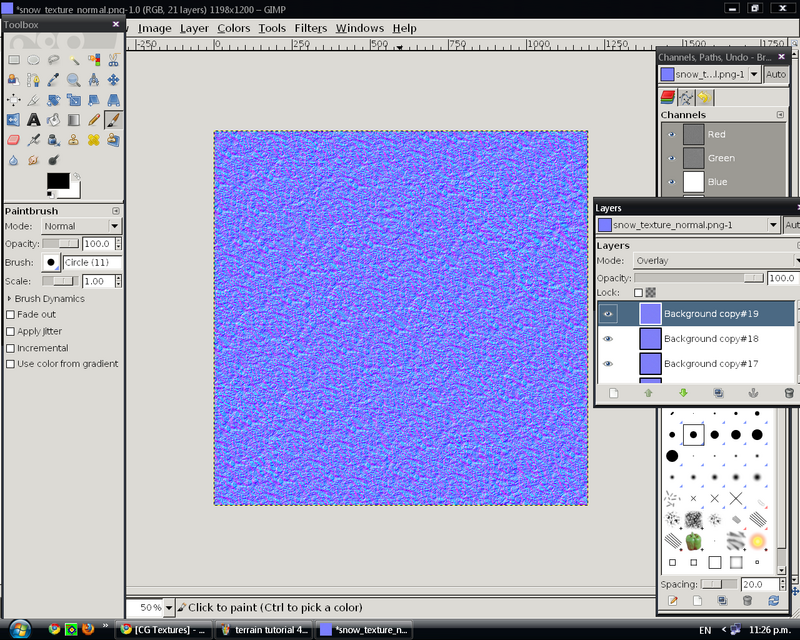
To finish off, we're going to create a normal map for this image. First off, save your image as something like snow_texture.dds. Then save a copy of it called snow_texture_normal.dds. We'll be working on this copy now. Normal maps are oddly colored images that StarCraft II uses to add detail to a texture that the model itself doesn't possess. It does this with shaders, which are more complicated. You don't need to know a whole lot about how they work, all you need to know is that with normal maps you can make bricks look like they're actually standing out of the ground, define the gaps inbetween planks, and make rocks in the snow stand out more. There's a great tutorial here on how to make a normal map out of your texture. After following it, here is my result:
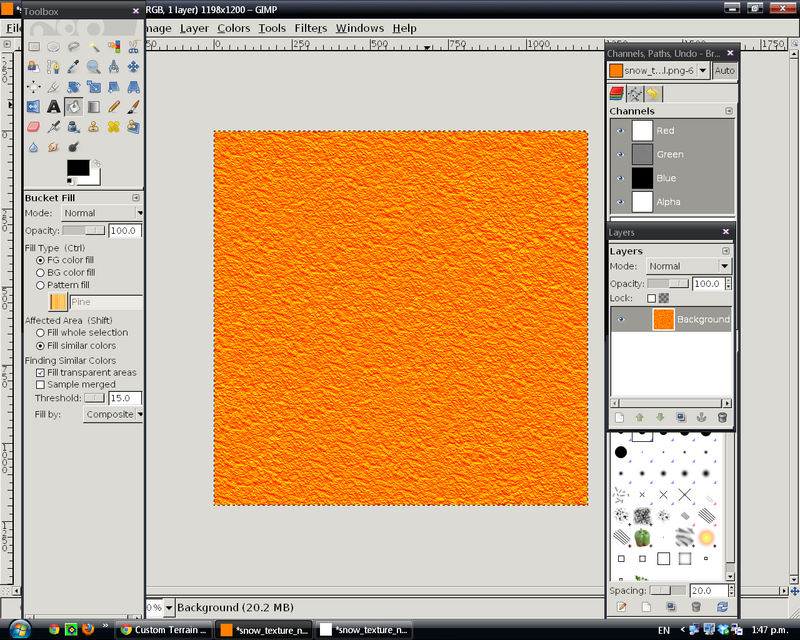
Now, StarCraft II uses a fairly odd version of the normal map, which is orange tinted rather than blue. To convert your normal map to the orange SC2 normal map, you have to edit the channels. In PhotoShop, select the red channel, copy it, and paste it into the alpha channel. Then fill the red channel with white, and the blue channel with black.
The process is slightly more difficult in GIMP. First, add an alpha channel if one doesn't already exist. Second, select the entire image; then go to Colors->Components->Decompose. In the box that pops up, choose RGB and press OK. This then places the channels into separate layers. Select the red layer, copy it, and paste it into the alpha layer. Then fill the red layer with white, and the blue layer with black. Finally select all the layers and go to Colors->Components->Recompose. This then places the layers back into one layer on your original image. It should be orange-tinted if you did it correctly. [NOTE: there's an alternate and more official method for GIMP as shown here.
Finally, save as .DDS (or .TGA if you prefer). You can use Nvidia's DDS PhotoShop plugin, or GIMP's DDS plugin, or alternatively use Aorta, a 3rd party DDS tool which works on Windows, Linux, and Macintosh. Of course, you then import your finished diffuse and normal map textures into GalaxyEdit, using this method: Importing Custom Terrain Textures.
